
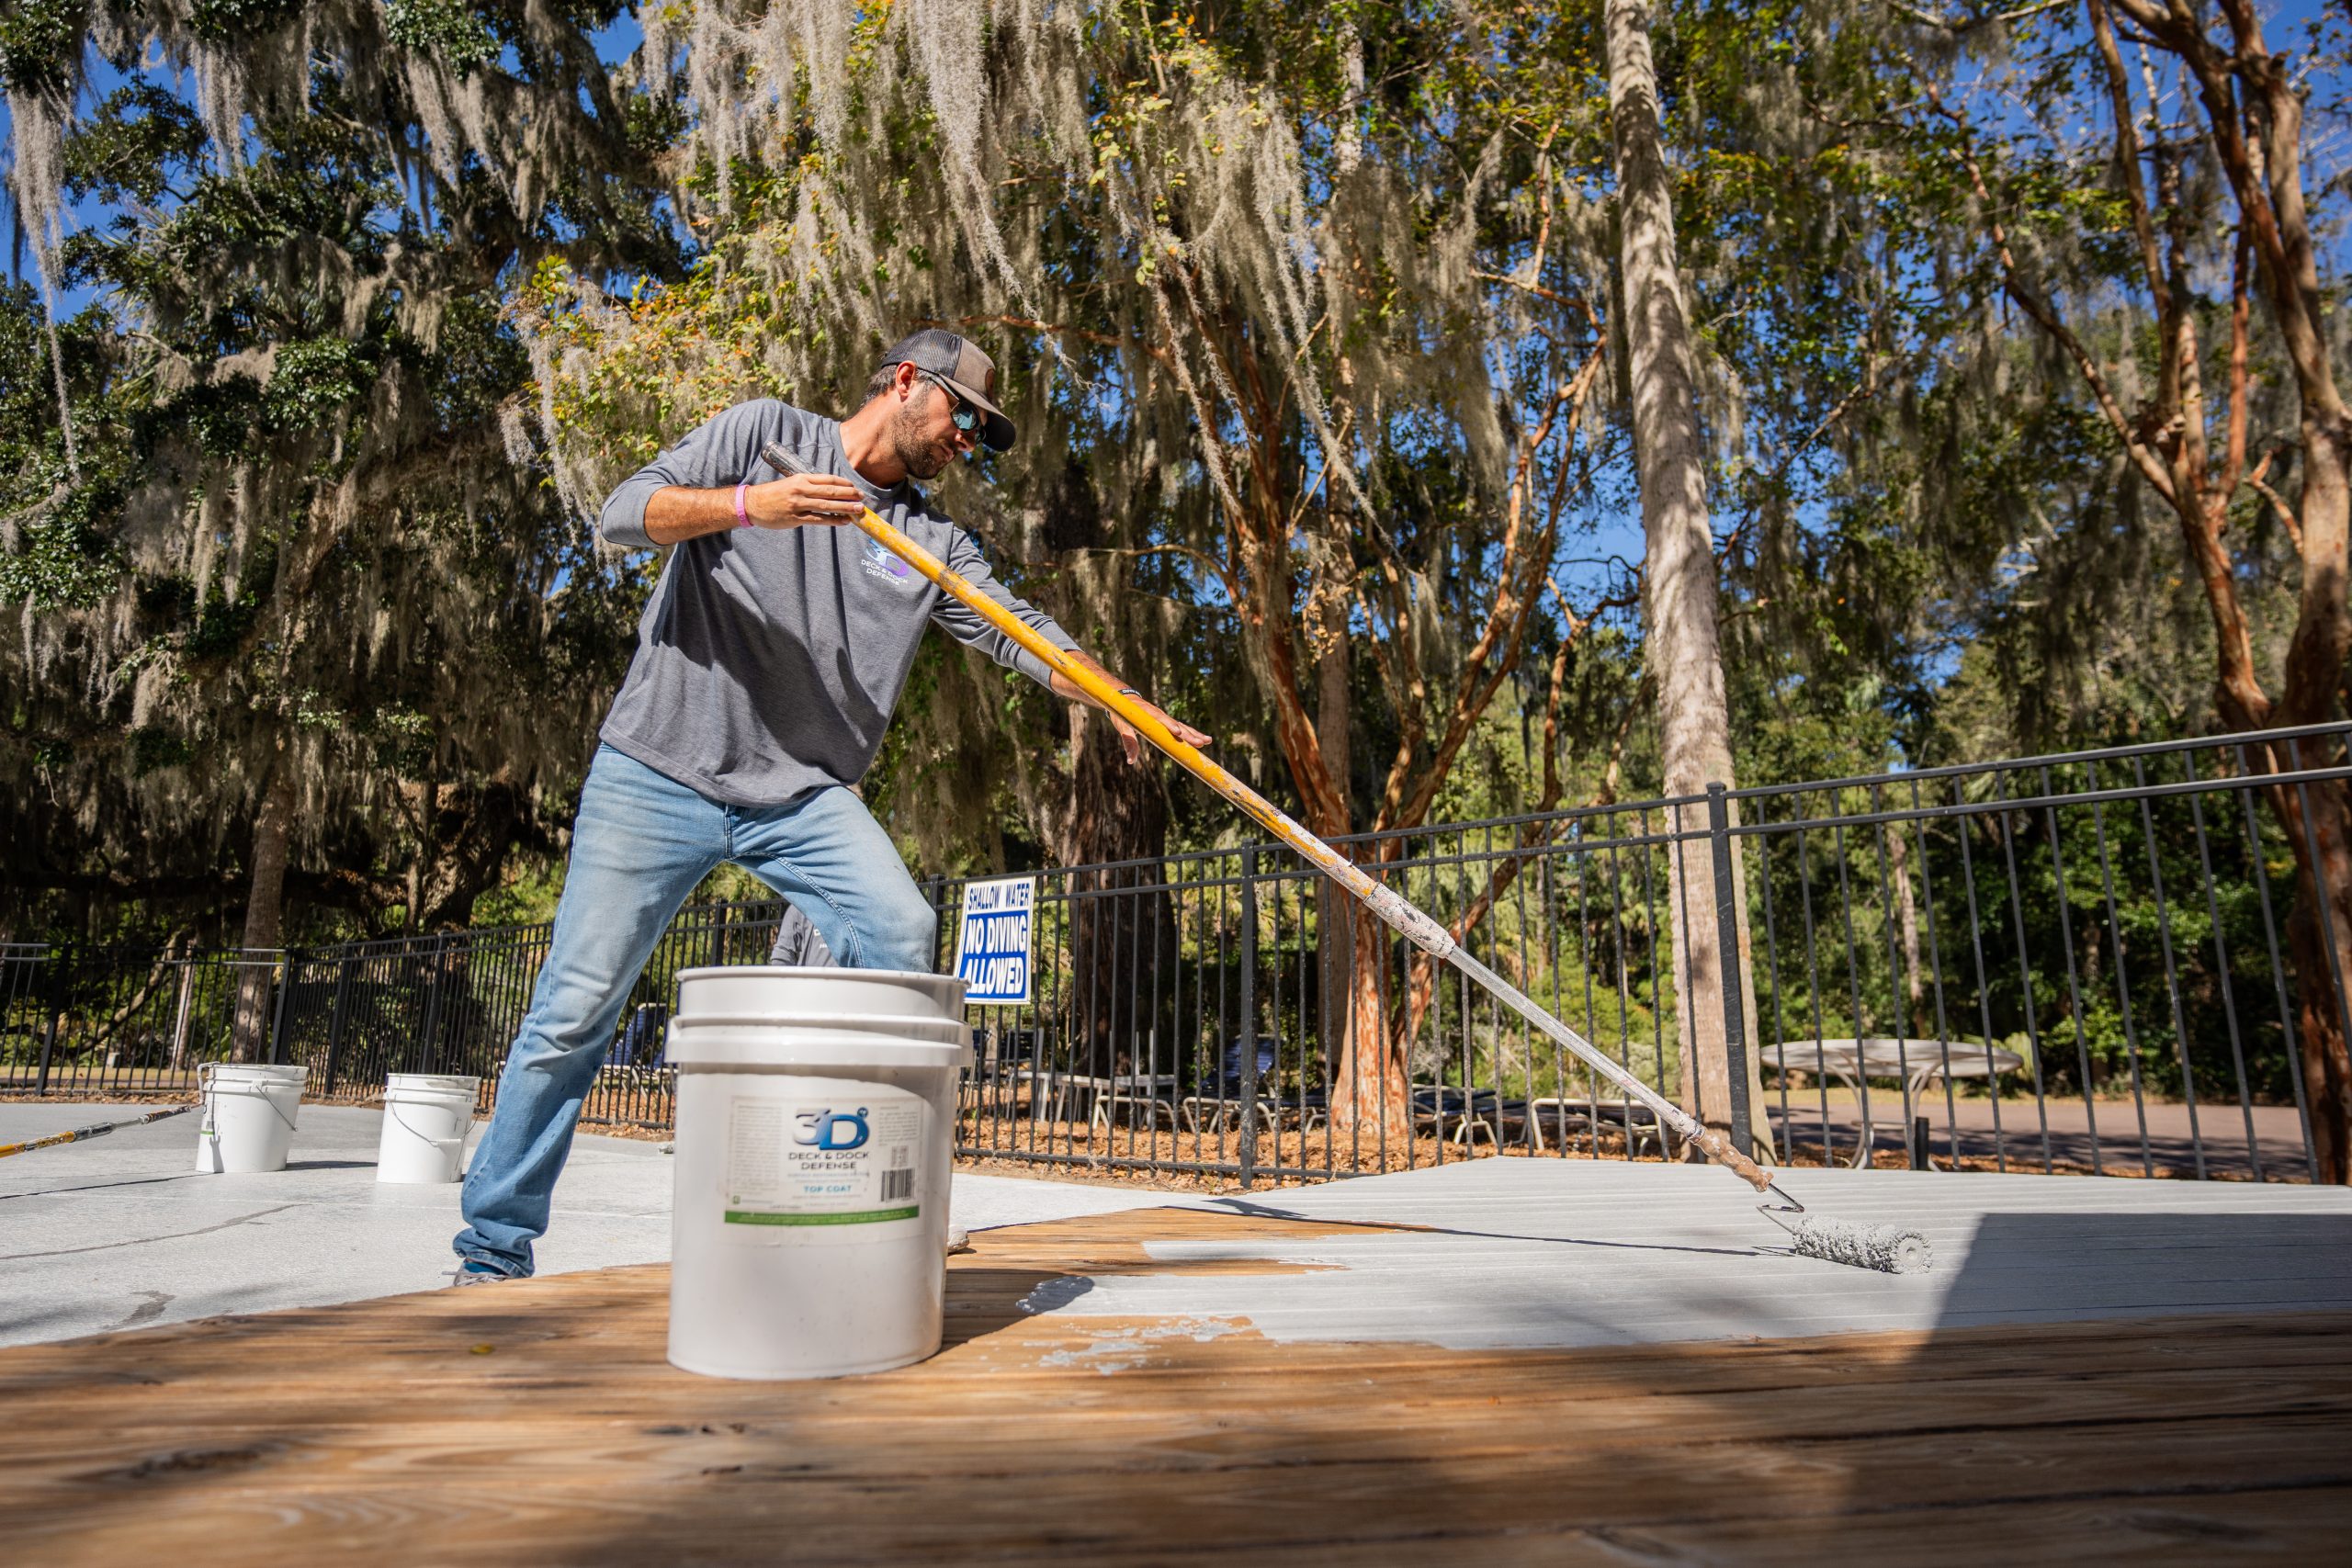
Ask ten homeowners what deck prep means. Nine will say pressure washing. Pressure washing is one stage of five, and skipping the other four is why coatings peel in a single season. Deck coating preparation is unglamorous work. It is also the part that decides whether your finish lasts two years or ten. Here is what a proper prep sequence looks like, in order.
Key Takeaways
- Prep is five stages, not just a wash. Each one affects adhesion.
- The deck must be fully dry before coating, usually 24 to 48 hours.
- On a pre-1978 property, sanding old paint can release lead dust.
Why Prep Decides How Long the Coating Lasts
A coating does not stick to wood. It sticks to whatever is on the wood. If that is mill glaze, old flaking finish, mildew, or a film of dust, the coating bonds to that instead.
The USDA Forest Products Laboratory states the requirement simply in its guidance on finishing exterior wood. Regardless of the type of finish used, the surface it goes onto should be clean and dry. Clean and dry are two separate jobs. Most failed coatings satisfy one and not the other.
This is also the cheapest stage to get right. Prep costs time and consumables. A failed coating costs the whole job again, including stripping off the finish you just paid for.
The Five Stages of Deck Coating Preparation
Stage 1: Clear and inspect
Take everything off the deck. Furniture, planters, grills, and rugs all come off, not just to the edge.
Then walk it slowly. Look for soft boards, splits, cupping, popped fasteners, and rot at the joist line. Prep will not fix structural problems, and coating over a soft board just hides it.
Stage 2: Clean and kill growth
Wash the deck with a dedicated deck cleaner, not just water. Cleaners lift grime and kill mildew and algae in the grain, which water alone leaves behind.
Pressure washing helps, but it is easy to overdo. Too much pressure raises the wood fibers and leaves a fuzzy surface that drinks coating unevenly. Keep the tip moving and use a wide fan.
Stage 3: Repair and refasten
Hammer down popped nails or replace them with deck screws. Tighten loose boards and railings. Fill deep gouges with exterior wood filler and let it cure fully.
Fasteners must sit below the surface. A raised screw head is the first place a coating wears through.
Stage 4: Strip and sand
Scrape off anything bubbling, peeling, or flaking. If the old finish is sound and compatible, you may only need to scuff it.
Sand rough patches and any hard edge where old finish meets bare wood. Sixty to eighty grit is the usual range for decking. The goal is a uniform surface, not a furniture finish.
Stage 5: Dry and dust off
Sweep or vacuum every trace of sanding dust, including the gaps between boards. Dust is the most common contaminant left on a deck at coating time.
Then wait. Drying is a stage, not an afterthought.
How Long the Deck Has to Dry Before You Coat
Most decks need 24 to 48 hours of dry weather after washing before a coating goes on. Cool or humid conditions push that longer.
There is a simple field test. Sprinkle water on several boards in different spots. If it soaks in within a few seconds, the wood is ready to accept product. If it beads and sits, the deck is still wet inside or still sealed by an old finish.
Test more than one board. A deck in partial shade dries unevenly, and the shaded end is usually the one that fails.
Sanding an Older Deck? Check for Lead First
This is the step most guides leave out entirely. If the structure or the house dates to before 1978, old paint on it may be lead-based.
Scraping and sanding are exactly the activities that turn that paint into dust. The EPA is direct about this in its guidance on lead-safe renovation. Any repair or painting project in a pre-1978 home with lead-based paint can easily create dangerous lead dust.
A few practical points from that guidance:
- If you cannot establish the age, assume lead paint is present.
- Mist surfaces with water before sanding or scraping to hold the dust down.
- Use wet-dry sandpaper and a HEPA vacuum rather than a shop vac.
- Bag debris and sheeting as you work instead of at the end.
The rule generally does not bind a homeowner working on their own home. It does apply if you rent out the property or you are renovating to sell. EPA recommends a lead-safe certified contractor either way.
The Prep Mistakes That Cause Peeling
Most coating failures trace back to one of these:
- Coating a damp deck. The most common single cause. Trapped moisture pushes the film off from underneath.
- Skipping the cleaner. Rinsing with water leaves mildew spores in the grain, and they grow back under the finish.
- Over-pressuring the wash. Furred wood absorbs unevenly and looks blotchy once coated.
- Leaving sanding dust. The coating bonds to powder instead of wood.
- Coating over failing finish. A new layer cannot hold down an old one that is already letting go.
None of these are product problems. All of them are prep problems.
How to Tell Prep Is Actually Finished
Run these four checks before you open anything:
- Water soaks into the boards within seconds, in several places.
- No flaking or lifting finish anywhere on the surface.
- Every fastener sits flush or slightly below the boards.
- Boards are swept clean, gaps included, with no visible dust.
If all four pass, the surface is ready. If one fails, fix that one thing. Coating is the fast part of the job, and it is the part that cannot be undone cheaply.
3D Deck and Dock Defense builds its systems around this sequence, because the prep is what the warranty ultimately rests on.
Frequently Asked Questions
Do I have to pressure wash before coating?
No, but you do need a real cleaning. A deck cleaner and a stiff brush can be enough. Pressure washing is faster, not mandatory.
Is sanding always necessary?
Not always. If the old finish is sound and compatible, a scuff may do. Sand wherever there is flaking, roughness, or a hard edge.
Can I just coat over old deck paint?
Only if it is fully bonded and compatible. Anything peeling has to come off first. A new coat cannot hold down a failing one.
What grit should I sand with?
Sixty to eighty grit suits most decking. Finer grits polish the wood and reduce how well it absorbs product.
Is it better to spray or roll?
Rolling drives product into the grain and wears better. Spraying is faster, so many pros spray and then back-roll immediately.
How many coats do I need?
Penetrating sealers and oils usually want one. Water-based and semi-transparent products often want two thin coats. Follow the label.
How do I know the wood is dry enough?
Sprinkle water on it. Absorbing in seconds means ready. Beading means wait longer.
Start With the Surface, Not the Can
Prep is where a coating job is won or lost, and it takes longer than the coating itself. Budget for that. Clean, dry, sound, and dust-free is the whole standard, and every stage above exists to reach one of those four words.
Timing matters as much as technique. Our guide on the best time to coat a deck is worth reading before you set a date. When you want the surface handled properly, our deck coating systems start with the prep spec. You can find a 3D Deck and Dock Defense installer who works to it.